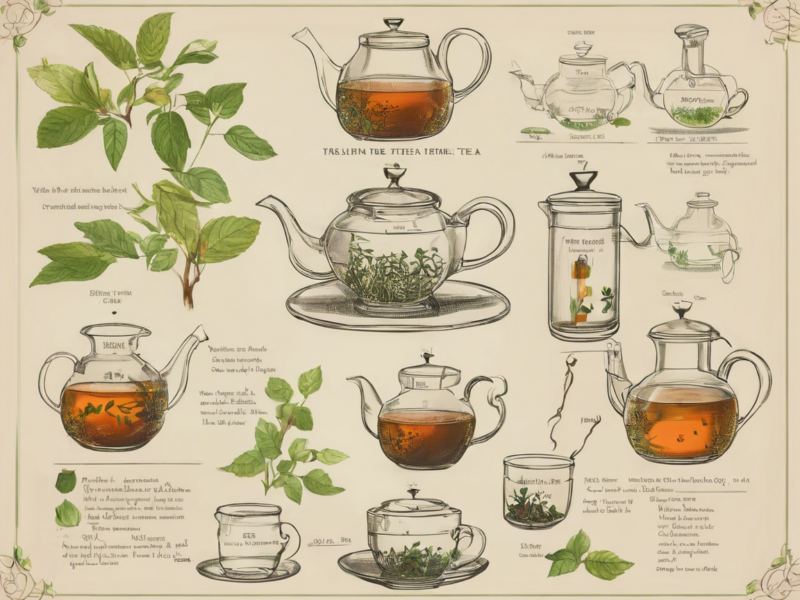
As we delve into the world of herbal teas, one particular blend that has gained popularity in recent years is stem tea. Stem tea, as the name suggests, is made by infusing the stems of various plants in boiling water to extract their flavors and beneficial properties. While many are familiar with traditional leaf teas, stem tea offers a unique and flavorful alternative that is not only delicious but also packed with nutrients. In this comprehensive guide, we will explore everything you need to know about making delicious stem tea at home.
What is Stem Tea?
Stem tea is a type of herbal tea that is made by using the stems of plants instead of the leaves or flowers. The stems of plants contain many of the same beneficial compounds and nutrients as the leaves, making them a great option for tea infusions. Stem tea can be made from a variety of plants, including herbs like rosemary, thyme, and lavender, as well as vegetables like broccoli and asparagus.
Benefits of Stem Tea
Stem tea offers a range of health benefits, thanks to the nutrients and compounds it contains. Some of the key benefits of stem tea include:
- Nutrient-rich: Stems are often packed with vitamins, minerals, and antioxidants that can promote overall health and well-being.
- Waste reduction: Using plant stems to make tea is a great way to reduce food waste and make use of parts of the plant that are often discarded.
- Unique flavor profile: Stem tea has a distinct flavor that sets it apart from traditional leaf teas, adding variety to your tea collection.
How to Make Stem Tea
Making stem tea is a simple process that requires just a few basic ingredients and tools. Here is a step-by-step guide to making delicious stem tea at home:
Ingredients:
- Fresh plant stems (e.g., rosemary, thyme, lavender)
- Water
Instructions:
- Rinse the plant stems under cold water to remove any dirt or impurities.
- Chop the stems into smaller pieces to help release their flavors during the infusion process.
- Bring a pot of water to a boil on the stovetop.
- Add the chopped stems to the boiling water and reduce the heat to a simmer.
- Allow the stems to simmer in the water for 10-15 minutes to extract their flavors.
- Remove the pot from the heat and let the tea steep for an additional 5-10 minutes.
- Strain the tea to remove the stems, then pour the tea into a cup and enjoy!
Variations and Tips
- Add citrus: Enhance the flavor of your stem tea by adding a slice of lemon or a dash of citrus zest.
- Sweeten to taste: If you prefer sweeter teas, you can add honey, agave nectar, or sugar to your stem tea.
- Mix and match: Experiment with different combinations of plant stems to create custom blends that suit your taste preferences.
Frequently Asked Questions (FAQs)
1. Can I use any type of plant stems to make stem tea?
You can use a variety of plant stems to make stem tea, but it is important to ensure that the plant is safe for consumption and has not been treated with any harmful chemicals.
2. Are there any plants whose stems are not suitable for making tea?
Some plants, such as rhubarb, have stems that contain high levels of oxalic acid, which can be harmful if consumed in large quantities. It is best to avoid using the stems of these plants to make tea.
3. How long can I store stem tea for?
Stem tea can be stored in the refrigerator for 2-3 days. It is best to consume it fresh to enjoy its full flavor and nutritional benefits.
4. Can I mix different types of plant stems to make stem tea?
Yes, you can experiment with different combinations of plant stems to create unique blends of stem tea. Just make sure to use stems that are safe for consumption and complement each other in flavor.
5. Are there any medicinal properties associated with stem tea?
Some plant stems, such as ginger and turmeric, are known for their medicinal properties and can be used to make herbal remedies. It is always recommended to consult with a healthcare professional before using stem tea for medicinal purposes.

